You have chosen to venture into a shadowy, physics-driven pit with dreams of industrial glory. Welcome to MineMogul, where your biggest threat is not some lurking monster or boss encounter, but rather a stubborn conveyor belt that simply will not align a copper ingot properly.
This game might appear to be a laid-back building sandbox at first impression. That “casual” label is misleading. The moment you start wrestling with resource overflow, unpredictable physics quirks, and the sheer pandemonium of countless rocks cascading through your mineshaft, complexity ramps up quickly. I have dug through all the documentation on your behalf. Here is your complete starter kit for success.
 All 3 VHS Tape Locations in Poppy Playtime Chapter 5 Guide : Where to Find Every VHS Tape
 Table of Contents
The Dark Ages (Manual Labor) : MineMogul Beginner
Automation comes later. First, you grind. Your initial hours will involve plenty of Right Click holding to suck up scattered ores while wandering the tunnels. Tedious? Absolutely. Necessary? Unfortunately, yes. Toss those collected nuggets into the selling hopper to knock out your early quests.
Essential Purchase: Grab the Ore Magnet as soon as possible. This tool becomes invaluable when you inevitably scatter a heap of gold across the ground. Toggle it using ‘Q’ and set it to “Resources Not In Filters” mode. Otherwise, you risk yanking items straight out of your sorters like some unhinged magnet enthusiast.
Illuminate Your Path: Visibility becomes a real problem underground. You can haul around the lantern sitting on your starting desk, but a smarter approach is swiping lamp poles from the environment to brighten your own workspace. Nobody judges resourceful borrowing in these caves.
 My Winter Car Alcoholism Cure: Complete Problem Bar Guide
 Automation Basics
With some coins in your pocket, invest in Auto Miners. The beautiful thing about these machines? Zero electricity required. Simply attach one to an ore node and watch it produce rocks automatically.
Ghost Placement Trick: Struggling to spot ore deposits in pitch darkness? Hold a belt or miner in your hand. The game reveals valid placement locations through “ghost” outlines, effectively granting you resource detection without needing proper lighting.
Conveyor Strategy: Purchase these in quantity. Hold Shift to grab 10 at once. Trust me, you will burn through hundreds before your factory takes shape.
 Berry Bury Berry: Every Achievement You Can Actually Miss
 The “Slag” Trap and Drill Bits
Higher-tier equipment unlocks Rapid Auto Miners. These operate faster but demand Drill Bits, consumable components that wear out roughly every 10 minutes. When a machine suddenly halts production, inspect the bit first. Manual replacement is required, adding ongoing upkeep responsibilities to your growing operation.
Exercise caution around the Rod Extruder as well. Feeding it mixed plate types simultaneously, such as Copper and Iron together, does not cause a jam. Instead, it generates “Slag,” a worthless byproduct guaranteed to obstruct your entire production line. Maintain pure input streams unless deliberately filling a disposal pit.
 Octopath Traveler 0 Complete Guide: Walkthrough, Endings & Tips (2026 READY)
 Exploration and Secrets
Remaining in the initial chamber limits your potential. The underground network extends far beyond your spawn point.
 How To Access The “Friendly Lobby” In ARC Raiders By Being A Total Pacifist
 - The Gold Bar: A hidden gold bar sits inside your starting desk. Claim it immediately for bonus starting funds.
- Explosives: Search for rock formations with detonator cables running toward them. Activating the plunger demolishes barriers, exposing fresh cave sections.
- Resource Scanner: Distinguishing iron from ordinary stone proves difficult in low light. This purchasable tool displays identifying text above whatever ore you examine.
The Panic Buttons
Getting wedged inside the elevator shaft happens more often than you might expect. The menu contains an “Unstuck” option for exactly this situation. Even more critical is the “Clear All Objects” button. When performance tanks because 5,000 loose items now litter your floor, this command wipes stray ores and rescues your system from meltdown.
 Crisol Theater of Idols: All 35 Crow Relic Locations
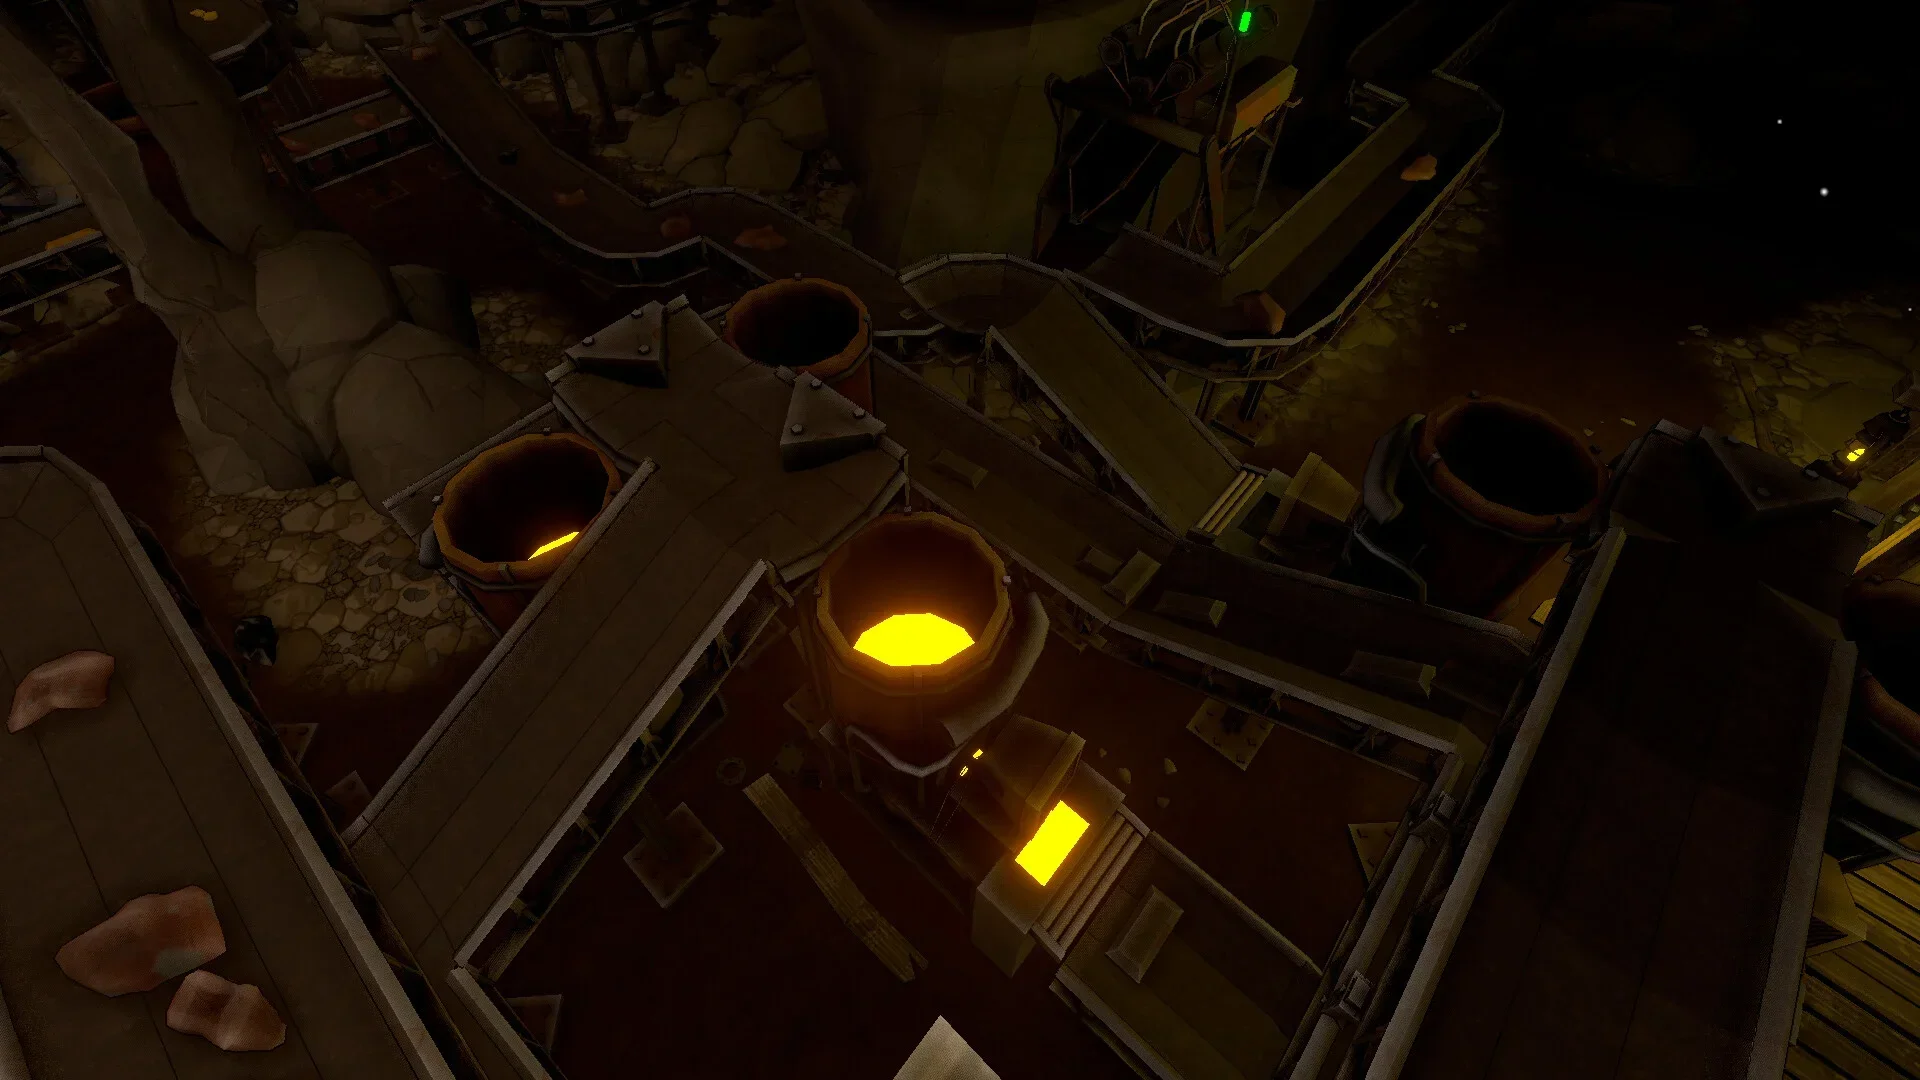